As a Small Business owner, particularly a crochet small business owner, I find it quite difficult to come up with my very own patterns. Why? Because someone, somewhere has already made it and written up a pattern for it. It is quite frustrating when you are trying to get your name out there and grow your small business, but at the same time, it makes it very easy to tweak patterns to make them yours. But then, are they truly YOURS?
I would like to introduce you to my small business, Sweet Lolly Boutique, and kindly let you know, most of the items I make are orders from customers and are based on pictures they have sent me. I am blessed to be able to look at a picture and create it and hope to one day start writing my own patterns and designs. I can make just about anything and I think they are high quality items, if I don’t say so myself.
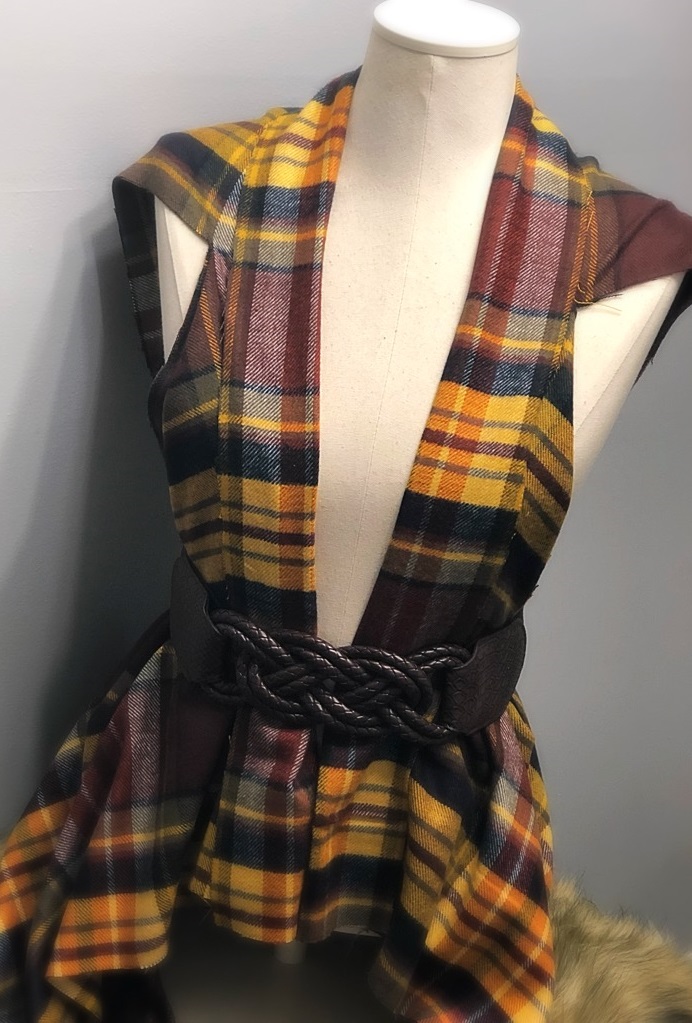
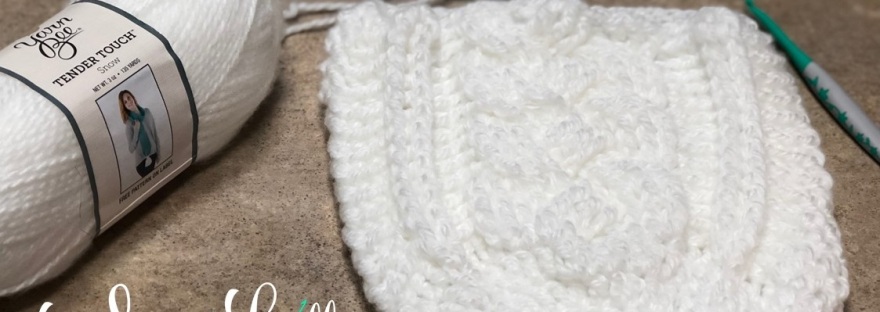
My most recent order was this beauty! They wanted a collared cocoon for their niece and I knew I could take on the task without a pattern. So I began….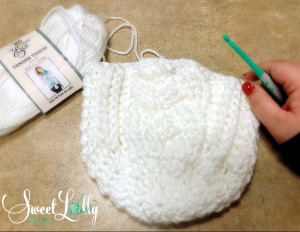 I will be writing this pattern down soon as it turned out so nice. I didn’t use any “one particular pattern” but my knowledge of several combined. The cable stitch across the front was inspired by Crochet It Creations’ cable stitch beanie (link at the bottom) but I made it only on the front of my cocoon instead of all the way around.
Next I added a collar and I believe it turned out beautifully!
So……. this pattern is coming soon and I really hope you enjoy it!
Link to the cable stitch beanie: https://crochetitcreations.com/braided-cable-beanie/
Hope you enjoy Crochet It Creations’ pattern as much as I do!
~Yarn